 NEWS 250126 about exGENT (Gentoo) 64 bit with OpenRC
REPLACEMENT
This version (250126) replaces version 240201 with OpenRC 0.53.
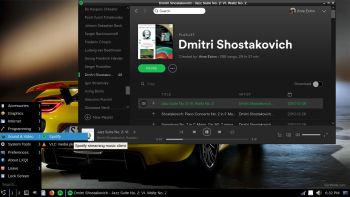
NOTE 1: In version 250126 I have uninstalled many packages which are unnecessary in an LXQt environment. Some KDE libraries are left though. They are needed by the Calamares Installer. I have also added the Spotify app, which you can use if you have a Spotify premium account.
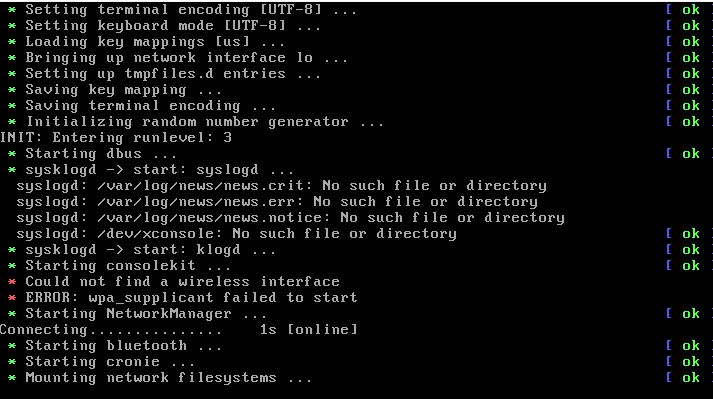
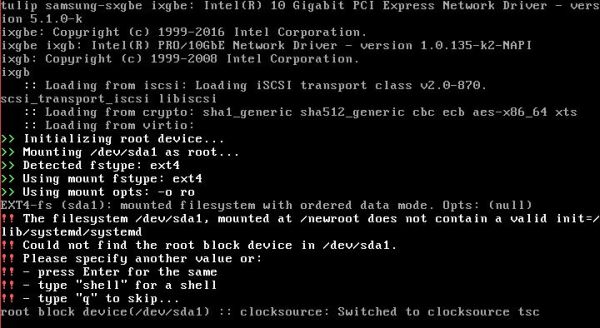
NOTE 2: Unfortunately you’ll have to use a fairly new computer with at least 4GB RAM to be able to run exGENT Build 250126. Otherwise the boot process will stop showing an error message. “Out of space” or something similar.
NEWS 240125 about exGENT (Gentoo) 64 bit with Systemd
I’ve made a new extra version of exGENT with only a few necessary packages pre-installed. The system is built from “scratch”. I.e. installed the “Gentoo way” following the Gentoo Handbook. It uses LXDE as Desktop Environment and kernel 5.15.80-gentoo-x86_64 (Gentoo’s original kernel) while running the system live (from a DVD or a USB stick). After a hard drive installation kernel 6.7.1 (latest stable kernel version) will be used. Study all installed packages in Build 240125. This exGENT build is not a replacement for Build 240121, which uses OpenRC init system and has Calamares Installer pre-installed.
KNOWN ISSUE: This Systemd version of exGENT can’t run in VMware. It runs very well in VirtualBox though.
READ MORE ABOUT Build 240125…
What’s new in exGENT Build 250126 with OpenRC 0.56?
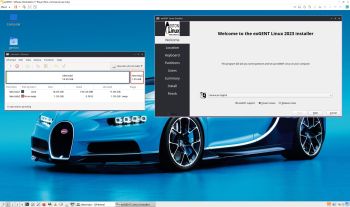
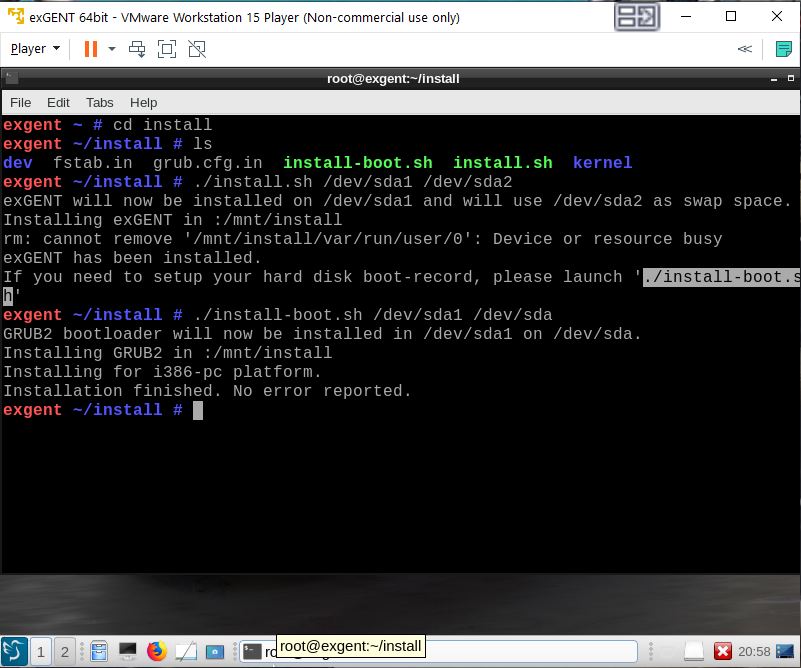
The boot loader Grub Legacy has been replaced by Grub2. In exGENT versions before 170309 the file system wasn’t writable when running exGENT live (from DVD). Now you can emerge (install) new programs/packages even while running the system from a DVD or USB stick. If you do that and later decide to install exGENT to hard drive all your changes will follow! (That is if you use the install scripts in /root/install). Furthermore you can install/transfer exGENT to a USB stick with the dd command in Linux or use Rufus or Etcher in Windows. Such installations were impossible before. NOTE: I have not installed Google Chrome. It’s not needed anymore, since Netflix nowadays runs very well in Firefox. About the LXQt Desktop environment: LXQt is a lightweight Qt desktop environment. It will not get in your way. It will not hang or slow down your system. It is focused on being a classic desktop with a modern look and feel. MOST IMPORTANT: Now you can install exGENT to hard drive in two ways. You can still use the install scrips in /root/install. That is the best way to install exGENT on non UEFI computers for example VirtualBox and VMware. The second way is to use Calamares Installer- see below. See this screenshot below when the install scripts are used in VMware.
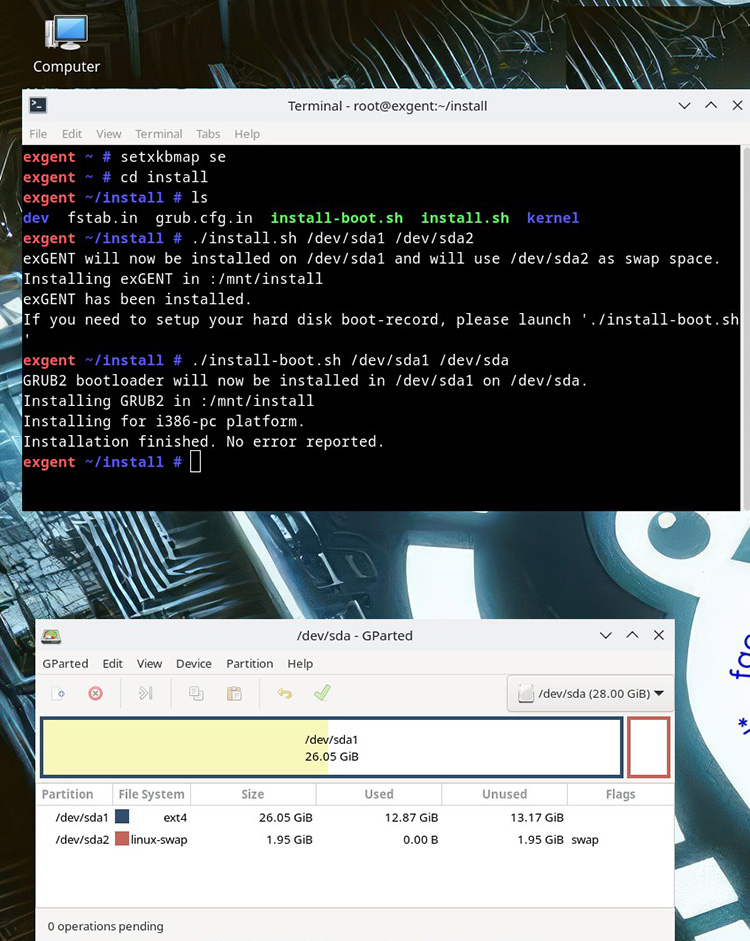
You can also watch a screenshot showing how it looks when the install scripts are used in VirtualBox…
Calamares Installer
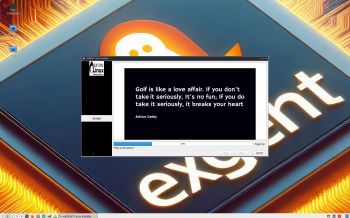
In exGENT Build 250126 I’ve also included the Calamares Installer (latest). Use it preferably if you need to install Grub on UEFI computers. You can, however, also use Calamares in VirtualBox and VMware. See a slideshow below when I have used Calamares on a UEFI computer to install exGENT on a USB stick. Using Calamares you can install exGENT in your own language.
If you can’t watch the slideshow in your browser watch this animated GIF.
NOTE re. Calamares/USB
Running exGENT after a Calamares install to a USB stick is not the best way to run exGENT. The system will then be very slow/unresponsive. The best way to run exGENT is from hard drive or from a USB stick when Ventoy or Rufus has been used for the installation. When running from such an USB stick most of the system will be loaded into RAM. Thus it will be very fast.
UEFI or non UEFI computers
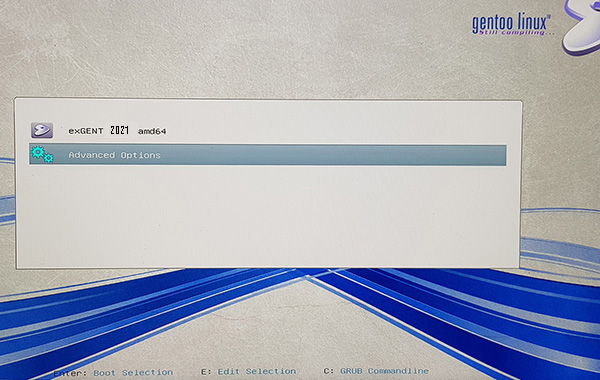
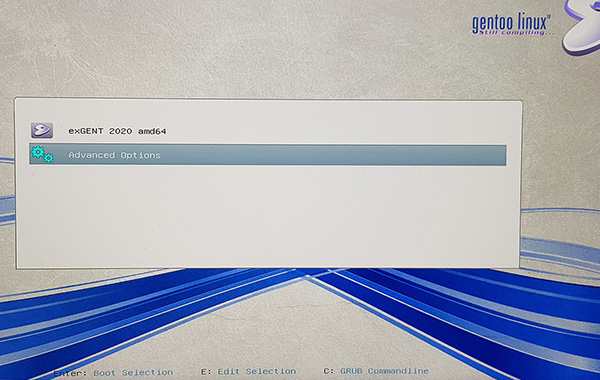
On a non UEFI computer you will see this boot menu.
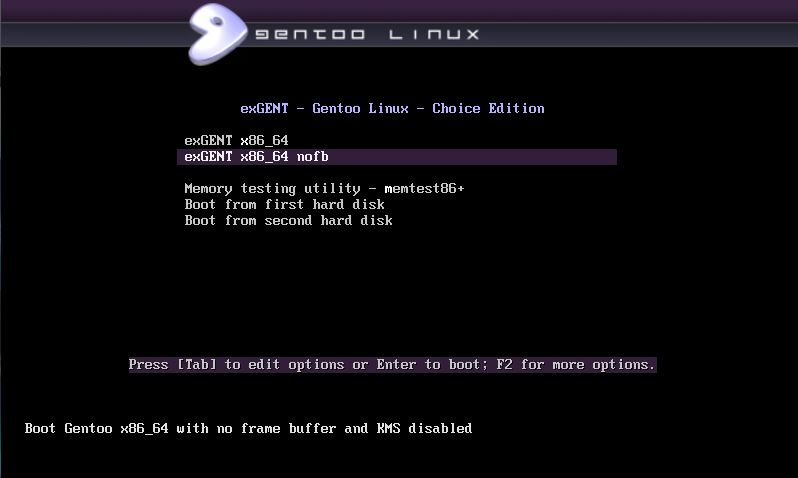
On a UEFI computer the boot menu looks like this.
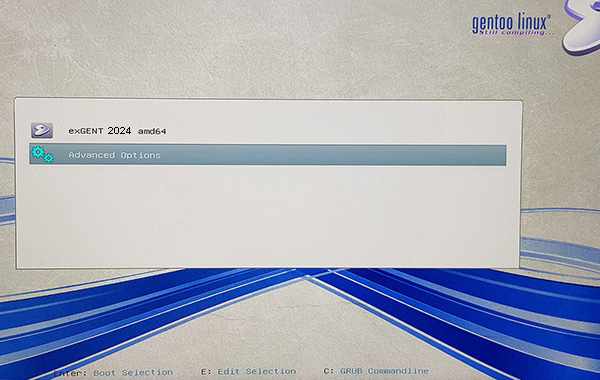
exGENT Build 250126 is a non Systemd system
exGENT uses OpenRC 0.56 init system instead of Systemd. Comparison of different init systems: Read this article.
Quick install to Hard Drive
exGENT Linux can be installed to hard drive in 3 – 20 min. (Depending on computer type). This means that all of you who might hesitate to perform a normal Gentoo installation – which can take up to a couple of days – now have the chance to get this great Linux system (Gentoo) installed on your computers very easy. Read my instruction about how the installation works.
UPGRADE the System
The exGENT System (Build 250126) is in very good shape, since I, without problems, have been able to update the whole system with the following commands:
# emaint sync
# emerge -avuDN @world
# emerge ‐‐depclean
# revdep-rebuild
NOTE 1: Before running the above three last commands you MUST run the commands emaint sync.
NOTE 2: After a hard drive installation of exGENT you should run the above commands at least every month (to keep the system in good shape). I you don’t do that it can be (almost) impossible to upgrade the system. As regards “old” Gentoo systems you could try to follow the advice’s stated here.
Notes about running exGENT in VirtualBox/VMware
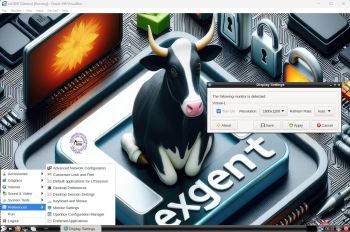
When running exGENT live (i.e. directly from the ISO file) you can do that in with the screen resolution you prefer . Watch this screenshot. After installing a new newer kernel (as of 250126 kernel 6.12.10-gentoo-dist) you can install VirtualBox Guest Additions. Watch this screenshot…
Notes about running exGENT in VMware
When starting up exGENT live in VMware the boot process is a bit slow. It can take a few minutes before you reach SLiM’s login screen! (I don’t know the reason for this strange behavior). It will look like the boot process has stopped (but is has not!) .

After a virtual hard drive installation the boot process is normal. You can run exGENT in full screen by going to LXQt Settings and change the screen resolution. Watch a screenshot when I’m using 1920×1200.
Notes about running exGENT in QEMU in Linux
Running exGENT (and other Linux live systems) in QEMU is possibly the best way to to enjoy Linux if you don’t want to do a real hard drive installation. The systems runs faster in QEMU than in VirtualBox and VMware. Watch a screenshot when I’m running exGENT Build 250126 in QEMU in Debian.
Rolling distribution
Gentoo/exGENT is a rolling distribution, which implies that once you have installed the system on the hard drive there is no need for re-installations (which otherwise is common in the Linux world).
Installed packages in Build 250126
Study all pre-installed packages in Build 250126.
Default language
The default language (locale) is set to English.
Keyboard
The default keyboard layout is American (us). Change it by running the command setxkbmap se (for Sweden).
Install exGENT to hard drive
Please read this INSTRUCTION.
Install exGENT to a USB stick
Please read this INSTRUCTION. This can be done in the same way as a hard drive installation.
Login and passwords re. Build 250126
When you start up your computer from the DVD/USB stick you will end up at SLiM’s login screen. Log in as the ordinary user gentoo with password gentoo or as root with password root.
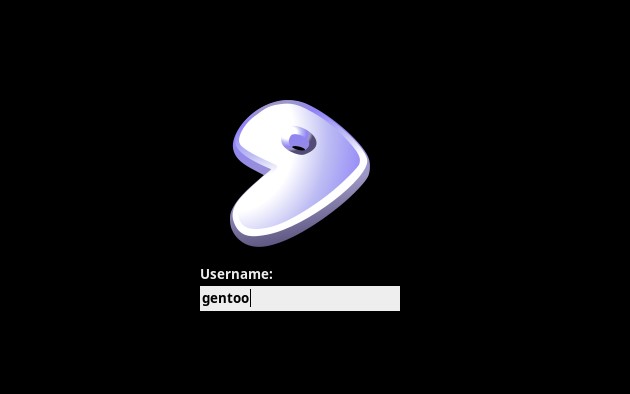
Wireless connections
NetworkManager make it easy to configure wireless connections. Give your WEP/WAP password and connect. That’s it! You’ll find the NM-applet to the right in the panel.
Using Samba
You can connect to your Windows computers in your Home Network with this (example) command:
mount -t cifs -o username=arne //192.168.0.38/LINUX /mnt/share
NOTE: LINUX is my shared folder on one of my computers. You’ll find your IP-address by opening up a terminal on your Windows computer and run the command ipconfig. Watch a screenshot showing the whole thing.
Using SSH (Secure Shell)
You can connect to other Linux computers in your Home Network using SSH. Watch a screenshot when I’m running Ubuntu on one computer connected to exGENT running on another computer. And a screenshot when I’m upgrading Exton|OS (Ubuntu based) from exGENT running on another computer. To start LXTerminal from exGENT on the Exton|OS computer I used the command ssh -Y live@192.168.0.38 lxterminal. I got the correct IP address by running the command ifconfig on the Exton|OS computer.
UPGRADE exGENT
As you can see it is exactly one year since the previous version of exGENT was released. That’s because everything with Gentoo is extremely time consuming. Installing Gentoo the “Gentoo way” can take several days to perform. Just upgrading exGENT from version 240201 to version 250126 took me four (4) days!
INSTALL A NEW KERNEL
After a hard drive installation of exGENT you may want to install a newer kernel than 6.12.10. That can very easy be done with the command sudo emerge ‐‐ask gentoo-kernel-bin. As of 250126 you will get kernel 6.12.10. Since it is a binary “all-round” kernel the installation takes only a couple of minutes. Watch this screenshot…
NOTE: Before running the install command you’ll have to update the repositories with the command emaint sync.
Who is exGENT/Gentoo for?
Experienced Linux users or those who really want to learn Linux. (Perhaps also for people who are bored with mainstream distributions like Ubuntu).
IMPORTANT NOTE
I “forgot” to install Pavucontrol. That package is necessary for sound to work. Install it with this command: sudo emerge pavucontrol –ask
It will only take about 10 minutes. Note also that you won’t have sound when logged in as root.
SCREENSHOTS
1. exGENT Build 250126 – gentoo’s Desktop – running Pavucontrol
2. exGENT Build 250126 – root’s Desktop
3. Running Calamares in VirtualBox
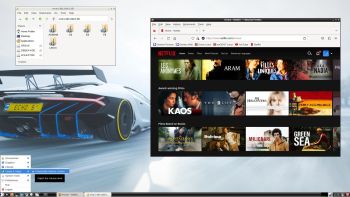
4. exGENT using VLC
5. Using the install scripts in VirtualBox
DOWNLOAD
exGENT Linux Build 250126 and 240125 can be downloaded from SourceForge.net – Fast, secure and free downloads from the largest Open Source applications and software directory.

md5sum for version 250126 – 64 bit – of 3830 MB
md5sum for version 240125 – 64 bit – of 2730 MB
About exGENT Rpi4 Build 200410
I’ve created an exGENT/Gentoo system for Raspberry Pi 4. Read more about it…
Read about my Android-x86 Systems – 11, 10, Pie, Oreo, Nougat, Marshmallow, Lollipop and KitKat at andex.exton.net – latest is AndEX 11 (with GAPPS), AndEX 10 (with GAPPS) and AndEX Pie 9.0 (also with GAPPS)!
and
about my Android 16, 15, 14, 13, 12, 11, 10, Pie, Oreo, Nougat, Marshmallow and Lollipop versions for Raspberry Pi 5, Pi 4 and Pi 3/2 at raspex.exton.se – latest is RaspAnd 16 (with GAPPS), RaspAnd 15 (also with GAPPS), RaspAnd 14 (also with GAPPS), 13 and 12 (without GAPPS), RaspAnd 11 (with GAPPS) and RaspAnd Oreo 8.1 (also with GAPPS)! 

